Tips for crafting durable dog toys
Have you ever tried making a dog toy, only to have it destroyed in minutes? Summer handmade dog toys – Ontario SPCA and Humane Society offers a helpful guide to crafting dog toys, and it’s great! Homemade toys can be both sturdy and fun if you keep a few key tips in mind.

Choose the right materials: The first step to making a durable dog toy is choosing strong, safe materials. Use sturdy fabrics like denim or thick cotton. If you’re using rope, ensure it’s thick and not loosely woven, as it might unravel and become a choking hazard.
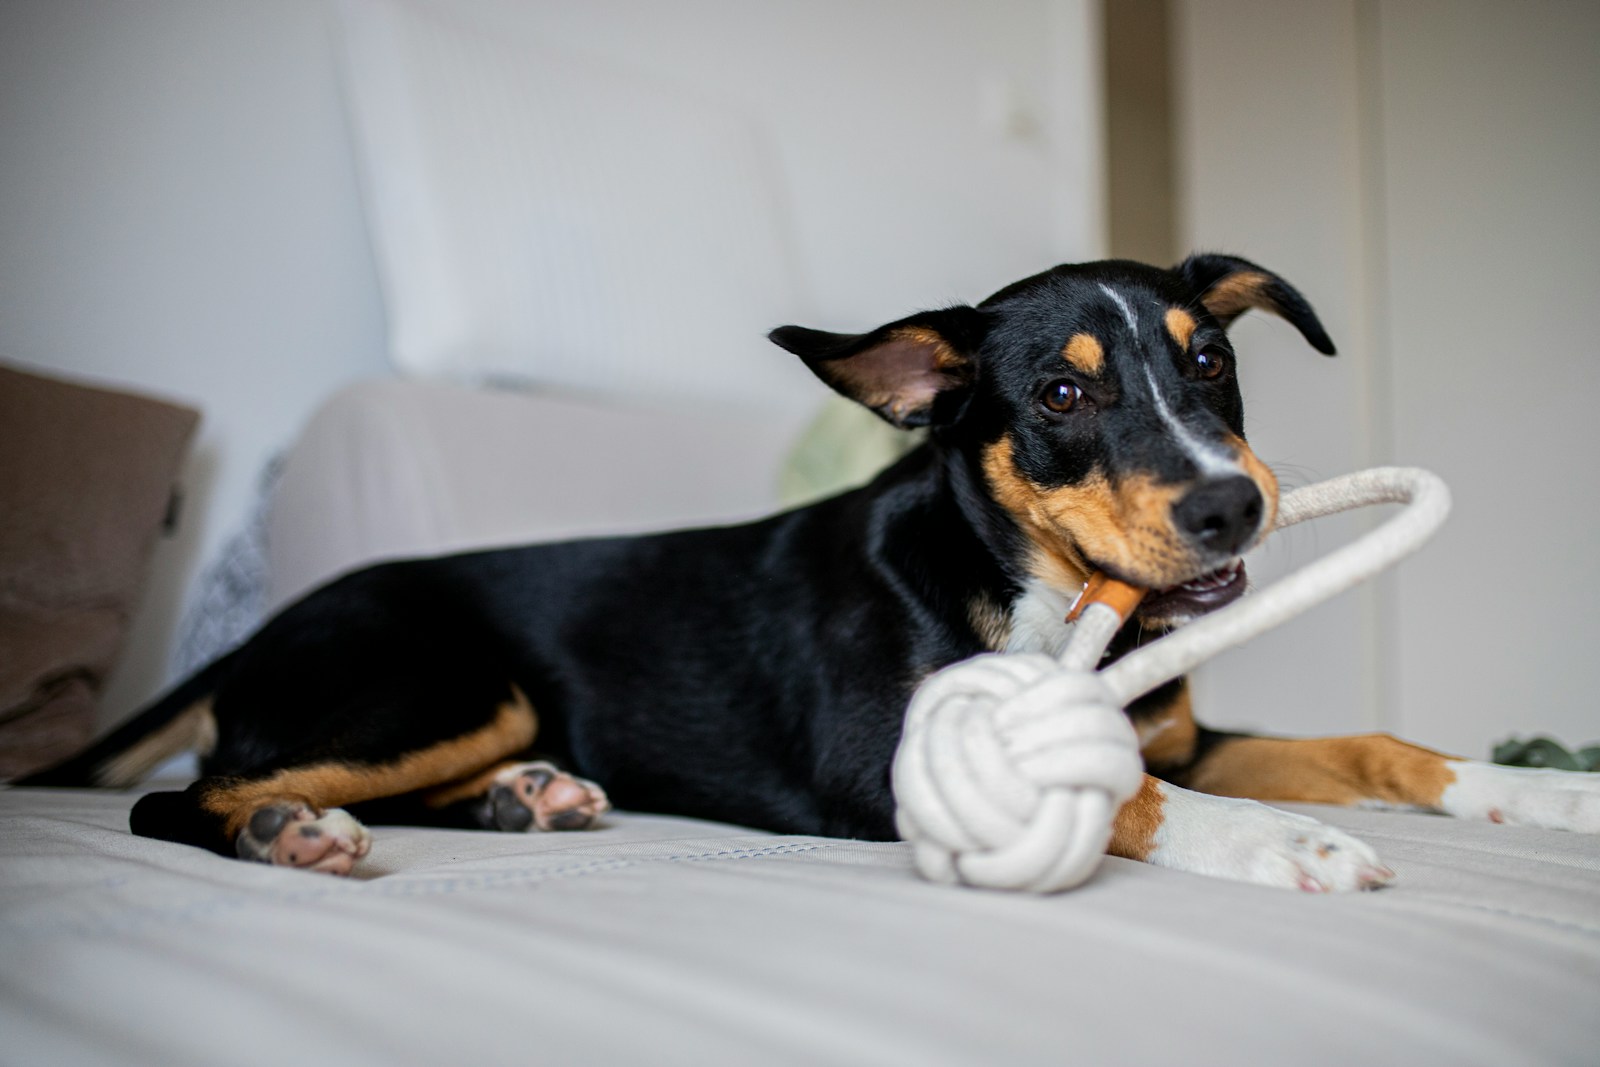
Keep it simple but strong: Simple designs like braided ropes or knotted fabrics reduce the risk of small parts breaking off. Follow the article’s advice: “Braid all the way down, knotting both ends. You can also use two strips of extra fabric to tie around both ends of the toy to secure your braid.” This classic braided rope toy is easy to make and withstands a lot of chewing.
Double up the fabric: If you use thin fabric, double or triple it to add strength. This small step can significantly extend the toy’s life. For example, with old T-shirts, layer them before cutting into strips and braiding. Double-layered fabrics are less likely to tear and provide extra texture that dogs love.
Secure the ends: Always secure the ends of your toys properly. If you’re working with fabric, tie it off firmly. You can also stitch the ends to make sure they stay put. If you’re using rope, knotting it several times will help it last longer.
Avoid harmful materials: Avoid using materials that could be harmful if chewed and swallowed. For instance, steer clear of plastic parts or small, detachable items. Even fabrics coated with chemicals or dyes should be avoided. Always think about safety first.
Sharing tips and tricks for making dog toys can be incredibly rewarding. Not only do you get to enjoy creating something with your hands, but you also provide your pet with hours of joy. Plus, it can save you money, and who doesn’t like that? Remember, a durable toy takes a bit more effort, but the result is worth it. Happy crafting!
“Simple and fun! Enjoy these great DIY ideas and share with your friends.”
Check out more tips on creating safe and fun dog toys from Summer handmade dog toys – Ontario SPCA and Humane Society.
Step-by-step DIY toy instructions
Now let’s talk about how to actually make these wonderful toys. It’s easier than you think and super fun!
Braided Rope Toy:
To start with the braided rope toy, grab some old T-shirts. It’s a great way to recycle and give those old clothes a second life. Here’s what you need to do:
- Cut fabric: Cut the T-shirts into three long strips. The longer the strips, the bigger the toy.
- Braid: Braid the strips together. It’s just like braiding hair! Go all the way to the end.
- Knot the ends: Tie a knot at both ends of the braid. Make sure the knots are tight. If not, “secure your braid” by wrapping extra fabric strips around the ends and tying them.
This toy is simple, durable, and dogs love it because they can easily grasp and chew it. Plus, the cloth is soft on their teeth and gums.
Tennis Ball Treat Dispenser:
Next is the tennis ball treat dispenser. This one’s fun because your dog gets rewarded with treats. Here’s how to make it:
- Prepare the tennis ball: Wash the tennis ball thoroughly. Dirty balls can have germs and might not be safe for your pet.
- Cut the ball: Use a knife or scissors to cut a neat opening. You can cut along the curved seamline or make an “X” cut. Be careful and make sure the hole is not too big so the treats don’t fall out easily.
- Fill with treats: Choose some strong-smelling treats that your dog loves. Put them inside the ball.
Now, whenever your dog presses down on the ball, treats come out! It’s an exciting game for them and stimulates their mind while they try to get the treats.
Here’s a handy table to summarize the steps:
| Toy | Steps |
| Braided Rope Toy |
|
| Tennis Ball Treat Dispenser |
|
There you go! These DIY toys are not just cost-effective but also fun to make. Your dog will appreciate the effort, and you’ll enjoy watching your furry friend play. Remember, always keep an eye on your pet while they’re playing, especially with new toys.
Importance of safe toys for pets
Ensuring that your dog’s toys are safe is incredibly important. Safe toys help prevent accidents and health issues that can arise from playing with inappropriate items. Dogs can be quite enthusiastic with their toys, so it’s essential to choose and make toys with safety in mind.
Choking Hazards: One of the biggest concerns with dog toys is the risk of choking. Avoid toys with small parts that could easily break off and be swallowed. For example, if you’re making a tennis ball treat dispenser, make sure the opening isn’t too big, so your dog doesn’t manage to bite off chunks of the ball.
Durable Materials: As mentioned earlier, using sturdy materials such as thick cotton or denim is important. Not only do they last longer, but they also reduce the risk of pieces being torn off and swallowed. Fabric toys like the braided rope toy are great because they don’t have small parts that can break off quickly.
Non-Toxic Materials: Make sure to use non-toxic materials that are safe for chewing. Avoid any fabrics treated with chemicals or dyes that may be harmful to your dog if ingested. For example, old t-shirts or clean dishcloths are usually safe choices.
Size Matters: The size of the toy should match the size of your dog. A toy that’s too small can be swallowed, while a toy that’s too large can be difficult for your dog to play with effectively. Always ensure the toy size is appropriate for your dog’s breed and size.
Regular Inspection: Regularly check the toys for signs of wear and tear. If the toy starts to fall apart, repair it or replace it to avoid potential injury. It’s also good to have a rotation of toys to keep things new and exciting for your pet.
“Simple and fun! Enjoy these great DIY ideas and share with your friends.”
These tips can make a significant difference in the safety and enjoyment of the toys you make for your dog. Crafting safe toys is a joy and a responsible way to show love for your furry friend. Dogs play hard, and ensuring their toys can keep up with their energy is key to preventing accidents and ensuring they stay healthy and happy.
To explore more ideas and tips for creating safe and fun dog toys, you can read more in the post at Summer DIY Dog Toys on the Ontario SPCA and Humane Society’s blog.